

3 Steps to Install a DIY Resin Bound Gravel Driveway or Patio
Unlike loose gravel, the stones are firmly bound together, forming a permeable surface that allows water to drain through. This makes it an excellent option for homeowners looking for both practicality and style. If you’re planning to install one yourself, the process can be simplified into three main steps: preparation, mixing and application, and finishing.
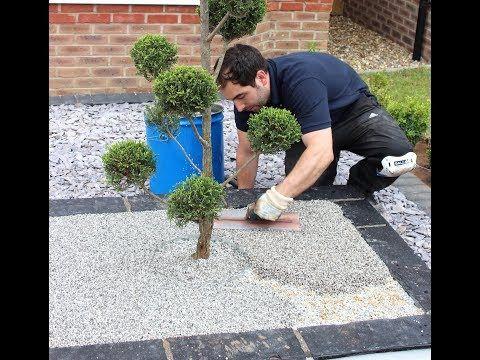
The foundation of any successful resin bound installation lies in proper preparation. Before anything else, you need a stable base. Resin bound systems are not Resin Driveway Diy typically laid directly onto soil or loose materials. Instead, they require a solid, well-draining sub-base such as concrete, asphalt, or a specially prepared permeable base.
Start by clearing the area of debris, vegetation, and loose material. If you are working on a new installation, excavate the ground to a suitable depth—usually around 150–200 mm. Then, install a sub-base layer made from compacted crushed stone (often referred to as MOT Type 3 for permeability). This layer should be evenly spread and thoroughly compacted using a plate compactor to prevent future movement.
Once the sub-base is ready, a binding layer such as permeable asphalt or concrete is installed. This layer should be smooth, level, and free of cracks or dust. If you are overlaying an existing surface, ensure it is clean, dry, and structurally sound. Any cracks should be repaired beforehand. Applying a primer may also be necessary to ensure proper adhesion between the base and the resin mixture.
Step 2: Mixing and Application
After preparing the surface, the next step is to mix and apply the resin bound material. This is the most critical stage, as it determines the strength and appearance of the finished surface.
The resin bound system typically consists of two components: a UV-stable resin (to prevent discoloration) and washed, dried aggregates. It’s important to use kiln-dried stones because moisture can interfere with the bonding process.
Using a forced-action mixer (a standard cement mixer is not suitable), combine the resin and hardener first, following the manufacturer’s instructions. Once thoroughly mixed, add the aggregates and blend until all stones are evenly coated with resin. This process usually takes a few minutes.
Immediately after mixing, pour the material onto the prepared surface. Time is crucial here, as the resin begins to cure quickly. Spread the mixture evenly using a trowel to achieve the desired thickness,